
Our House - The Attic Kitchen and Dining room
When we first designed the attic, we thought this space, along with the living room, would be one big open area. We originally envisioned this basically serving as a hang-out space like you would usually see in a basement. Think ping-pong table, pool table, etc.
However, those plans changed after our structural engineer told us we needed to keep the support post in the middle of the room. Such a bummer, but the span of the hip rafter was just too long to be unsupported.
We decided we’d just have to wrap it and make it into a pretty column. However the more we thought about it, we decided to try to turn a negative into a positive by using the post as a nice way to help delineate a separate space in the corner, and build a wet bar in that area. The necessary plumbing connections would be relatively easy to tie into our existing system, so it made a lot of sense to us. Then we found out we were pregnant, and our plan for the space changed even more. Rather than rush to finish the whole house before baby arrived, we decided we would move into the attic! Our plan already had two bedrooms and a full bathroom drawn up, so all that was missing was a kitchen to truly turn the space into a 2 bedroom apartment. The wet bar expanded to become a full kitchen, and our final plan was set into motion.


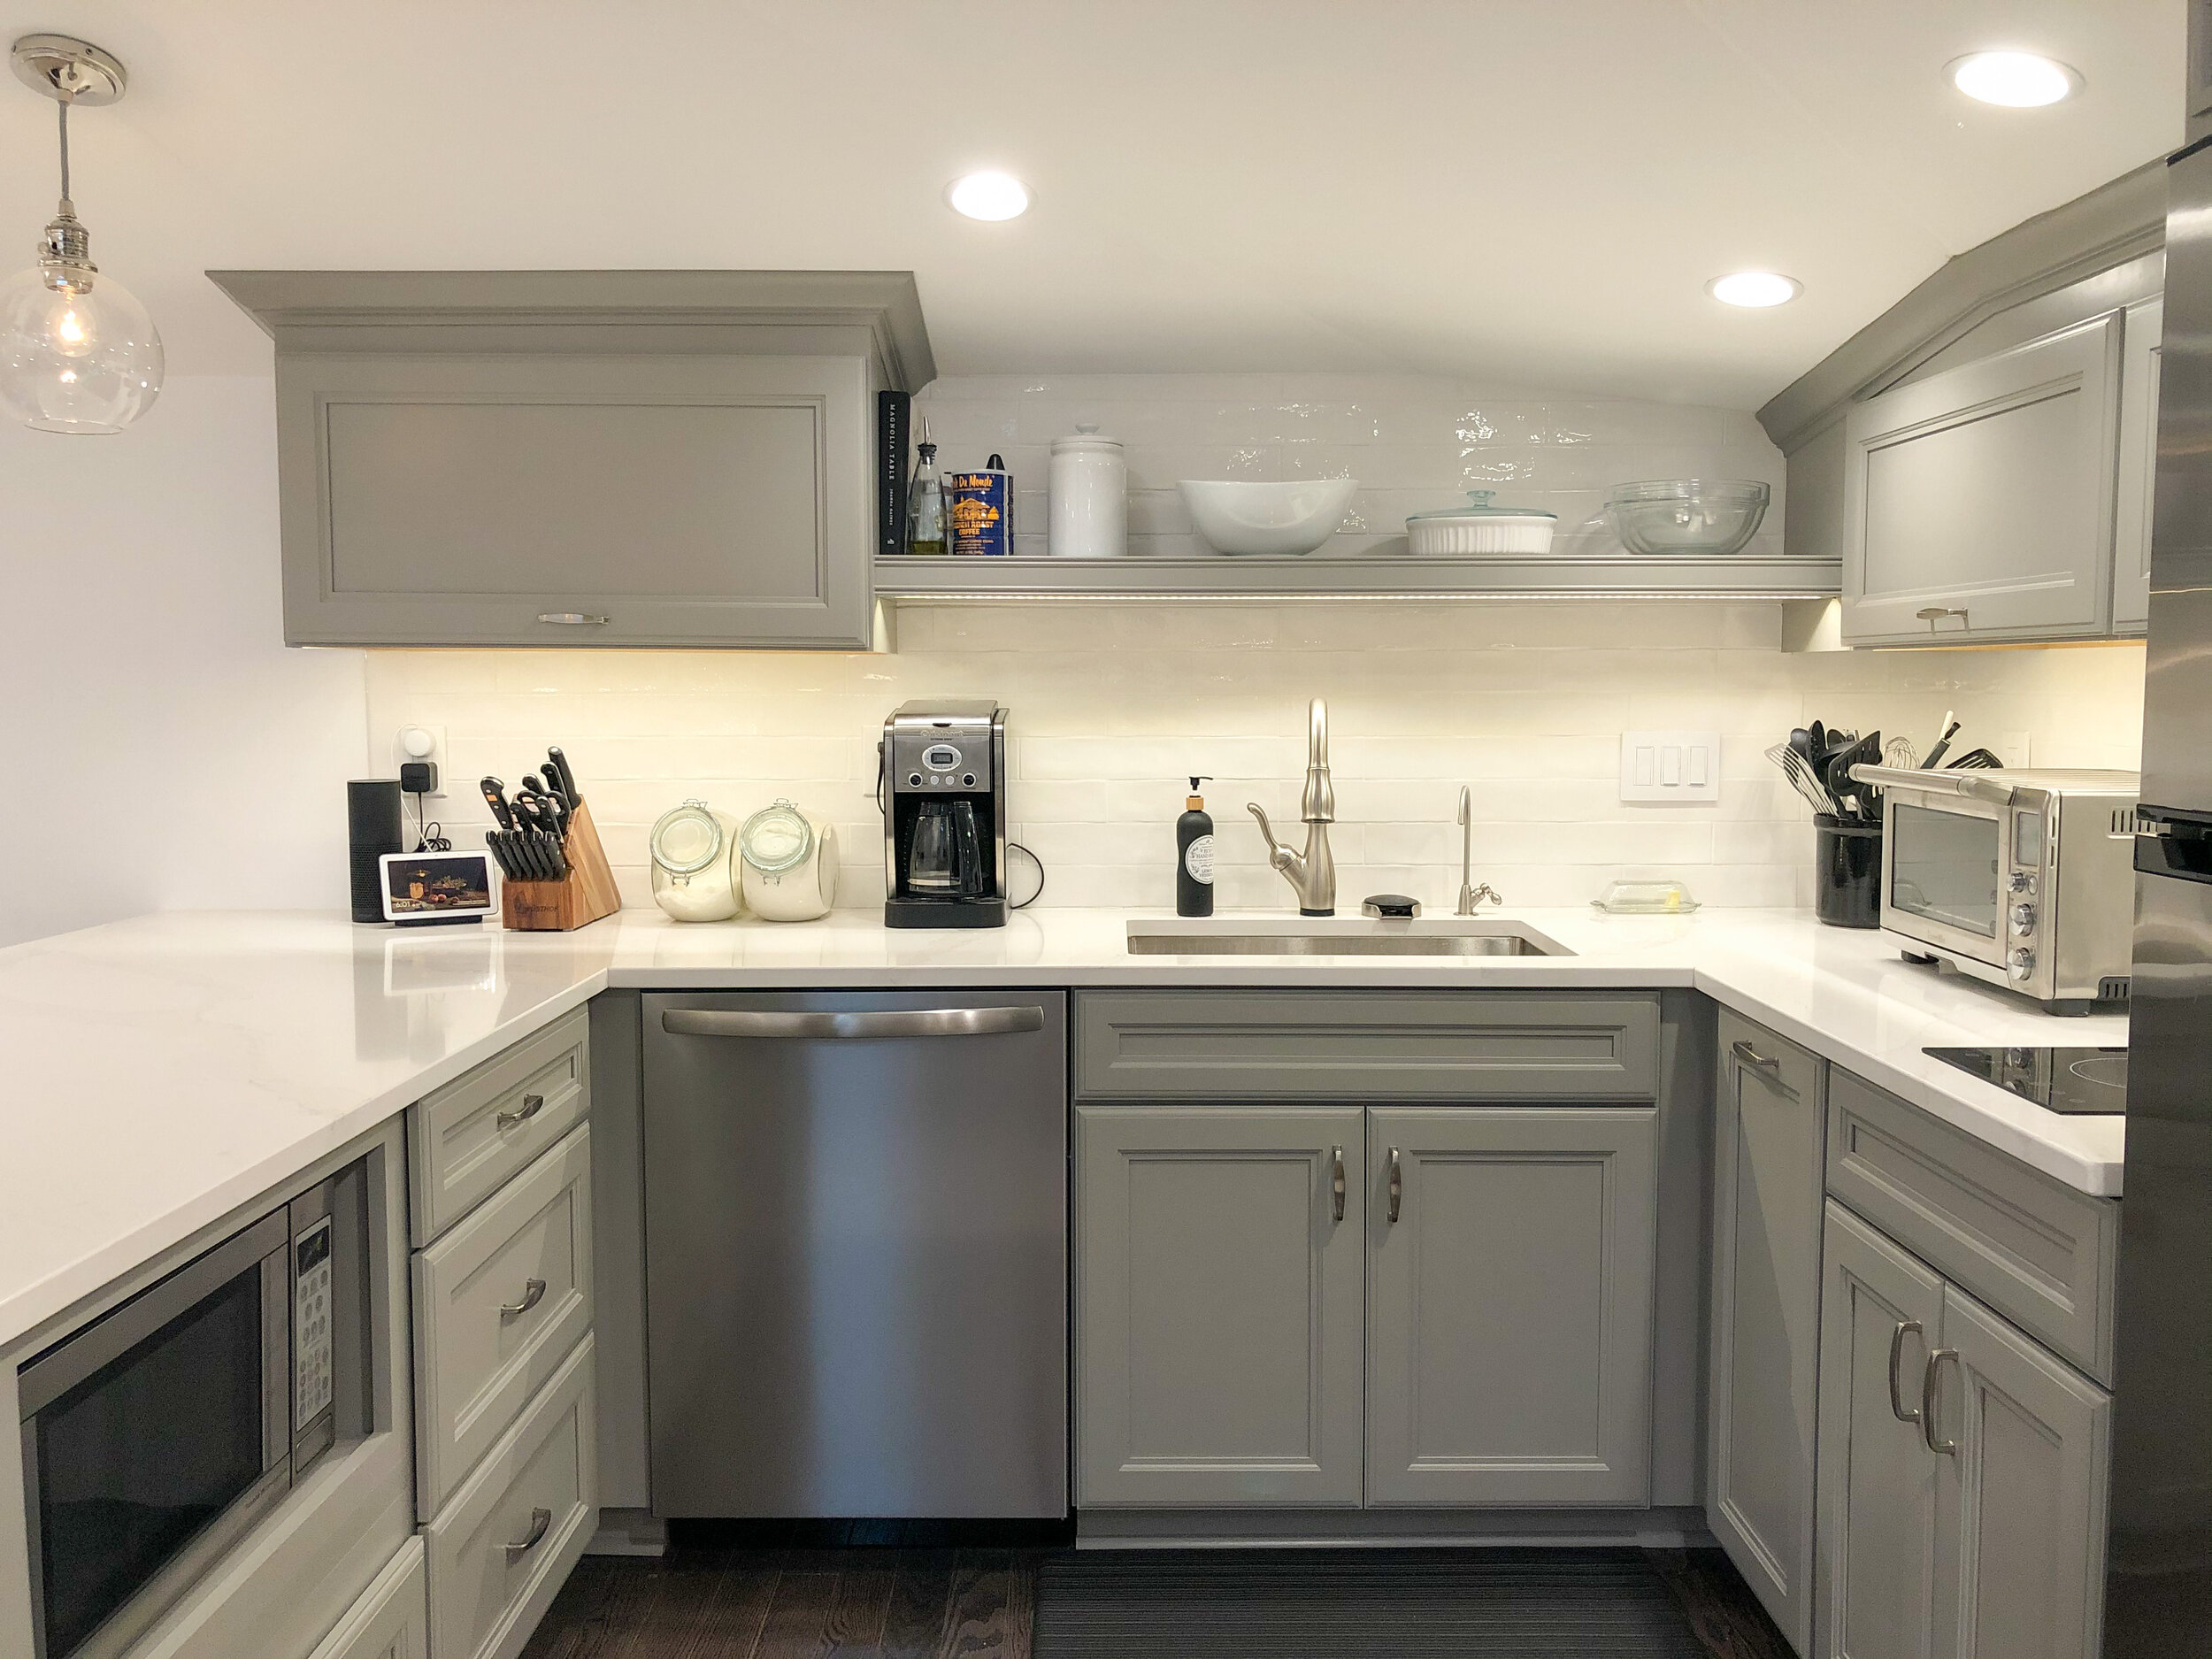
We loooooove it!! It has all the essentials; a small refrigerator/freezer, a two burner electric cooktop that’s fine for what we need, a full size dishwasher, a suuuper deep sink, and a microwave. The only thing missing is a built-in oven, but we have an awesome countertop convection oven that does the trick!

For our sink, we went with 3 separate fixtures here, all designed to make the sink area as efficient and effective as possible. Our main faucet is a Delta Faucet Leland model with touch technology. If you’ve never had a faucet with the touch on, touch off functionality it may not seem like a big deal, but trust me it is really great! Once you get used it, you’ll never want to go back. Next, we also have a Delta Faucet Glass Rinser. It’s similar to what you might see in a bar, but it’s been used primarily as a baby bottle cleaner in our household! Lastly, we installed a 3-stage filtration system for our water dispenser. Although we have a whole-house filtration system as well, this offered just an extra level of purification for all of our drinking water. Usually we would look for our water dispenser to be integrated into the refrigerator, but since space was tight and we wanted to maximize refrigerated storage space, we opted to install a system over (and under) the sink.

It was realllly tricky getting the cabinet layout to be how we wanted it. The angled ceilings and the support column definitely posed a fun challenge. We had to use small, top hinge, cabinets for the uppers, with an open shelf above the sink to be able to have enough room for the faucet. And the way the ceilings are angled, one wall needed shorter cabinets than the other.

The cabinet on the left is taller than the cabinets on the right due to the angled ceiling.
Regarding the support column, we wanted the cabinets to butt up to it without having to use too many filler pieces, and we also wanted the end of the column to line up perfectly with the end of the opposite wall of cabinets. I’ll show you what I mean:


It took a lot of planning, and a lot of help from our cabinet vendor, but we were able to get it just how we wanted it!
One thing I need to note as well is the crown molding Mike installed. Usually crown is no big deal, but once you start trying to install it on a sloped or vaulted ceiling, things get much more difficult. It took us a long time to think through how the angles would work and how we could achieve the look we wanted. We even consulted with two different finish carpenters here in town that both told us it would be virtually impossible to do (and wouldn’t take on the job as a result). With some heavy thinking and more than a few test cuts, we were able to figure out the best way to achieve the look we were going for. Although it wasn’t easy, we think it was well worth the effort in the end.

Lighting is always something we really focus on, so we wanted to achieve 3 main goals: First, to have great lighting over our prep areas that would not have any shadows while you were working. Second, to include pendant lights that would be less of a focal point and more of a little extra touch to the space. Finally, to have even, consistent under-cabinet lighting that would help to accentuate the area as well as offer some ambient lighting when the kitchen wasn’t in use.
We used 4” recessed lights in this area, rather than the 6” version we used in the main area to help further define the space and offer a little bit more directional lighting. As opposed to the main spaces where we look to “flood” the room, we wanted something that was a bit more focused on our prep areas. We placed them directly above our countertops and spaced them in such a way that will minimize shadows from someone standing over a prep area as they are cooking.
For the pendants, I wanted to make sure that they weren’t overpowering and drawing too much focus away from the kitchen. I was also worried that with the low, sloping roof line, any pendant that was “heavy” would further confine the space and make everything feel lower than it already is. It was great to find these pendants from Pottery Barn because they worked out perfectly! Just big and visually interesting enough to add a touch of elegance to the peninsula, while also keeping the space feeling large and open since you can see through the glass globes!

Finally, we used LED tape mounted to the underside of our cabinets for our under-cabinet lighting. We like the tape because it gives a consistent run of lighting and hides pretty well up underneath the lower lip of the cabinetry. We routed a channel for the LED strip in the bottom of the open shelf over the kitchen sink to allow for more light there as well. The under-cabinet lights are controlled from a wall switch next to the sink, but also have the remote you can use as well. The remote actually comes in handy, since you can adjust the brightness from it. Being able to have just the under-cabinet lights on at 25% is perfect for those middle-of-the-night tasks; just bright enough to see what you’re doing, but not too bright to wake up the sleeping baby!

Dining Room
We can comfortably fit 4-5 chairs at our countertop overhang, so we don’t really need a dining room up here long term. This table was something we had and is here temporarily as both a drop zone/place for me to put my laptop, and we also occasionally eat here (although we more frequently eat at the countertop, or shamelessly in front of the TV.). Eventually we envision this space being used as a play area, with bookshelves and toys. Also, FYI, the railing and spindles seen here aren’t finished. They’ll eventually be stained to match our hardwood floors.

That wraps it up! Thanks for reading and following along on our reno journey!
-Mike and Hannah